How to Prepare Your Vehicle for Paint Protection Film Installation
(706) 705-7335Preparing your car for paint protection film (PPF) installation is critical to ensuring a smooth finish. Proper setup prevents issues like bubbling or premature wear. It starts with selecting the right PPF type to maximize durability and preserve your vehicle's appearance. By understanding different types of PPF, like thermoplastic polyurethane (TPU), you unlock benefits such as flexibility and self-healing properties. Ensuring you have all essential tools ready further smooths out the process, laying the groundwork for a successful application without stress or errors.
Tools and Materials Needed
To ensure a flawless application of paint protection film, gathering the right equipment is a crucial first step. Each tool serves a specific purpose that will ultimately influence the final outcome. For instance, starting with a PPF roll of your selected brand is essential. Choosing a high-quality product is important because it affects both the durability and appearance of the film once installed.
- Squeegee: This simple yet indispensable tool helps smooth out the film as you apply it, reducing air bubbles that could ruin an otherwise perfect installation.
- Spray Bottles: You’ll need two spray bottles—one filled with soapy water to help position the film during application and another with clean water for rinsing afterward.
- Razor Blade or Cutter: Precise cutting is essential for trimming the PPF to fit your vehicle’s contours perfectly without causing damage.
- Heat Gun: A heat gun provides warmth that allows the film to conform seamlessly to complex curves and edges, ensuring a professional-grade finish.
- Microfiber Towels: These soft, lint-free towels are critical for drying surfaces and wiping any excess moisture during the process.
Each of these tools contributes not just to the ease of application but also to the longevity and quality of the PPF itself. For example, when using a squeegee, applying consistent pressure can help you force out air bubbles effectively, which prevents premature peeling or lifting over time. Having two spray bottles ready can save you from fumbling around when it's time to rinse or reposition film; keeping everything manageable makes the process less stressful.
Beyond these fundamental tools, consider investing in gloves to prevent fingerprints on both your film and vehicle surface, and perhaps masking tape for outlining areas that you intend to cover. The clarity this added preparation provides will help you focus solely on making precise applications rather than worrying about accidental slips or touches.
With all these essential tools at your disposal, you'll be well prepared to proceed with the important task of ensuring your vehicle's surface is primed and ready for PPF installation.
Cleaning and Preparing the Surface
Proper surface preparation is critical for the paint protection film (PPF) to adhere correctly, beginning with a thorough washing of your vehicle. It’s essential to use a wax-free, automotive-specific cleaner during this step to eliminate residues that might interfere with the film's bonding. Pay special attention to areas like the front bumper, hood, and side mirrors; these spots often bear the brunt of road debris and are prime candidates for PPF application. Skipping this part could reduce adhesion and lead to premature wear of the film.
Step I: Washing
When washing your vehicle, start from the top and work your way down. This technique prevents dirt and grime from being dragged across clean areas, which can damage your vehicle's paint. Use a soft sponge or wash mitt, rinsing frequently to avoid reapplying dirt. Take your time with this step; a meticulous wash lays a solid foundation for everything that follows. For enhanced effectiveness, consider using two buckets—one for soapy water and another just for rinsing your sponge. This adjustment helps keep contaminants at bay, providing a deeper clean while minimizing risk to your vehicle's finish.
Step II: Degree
After washing, engage in a degreasing process. There may still be residual grease or oil clinging to certain surfaces. An isopropyl alcohol-based cleaner works well here, as it effectively cuts through leftover residue without harming the paint. Remember to dilute your alcohol cleaner with water—about a 50/50 ratio usually works best—to avoid harsh effects on the vehicle's surface. Apply the degreaser sparingly with a clean cloth or microfiber towel, ensuring coverage across all application zones without excessive saturation. This critical step prepares the surface by removing oils and improves adhesion by creating a clean slate where no barriers exist.
Step III: Drying
Finally, drying is a vital aspect of preparation that should never be overlooked. Using a clean microfiber towel, dry all bodywork thoroughly after washing and degreasing. The presence of moisture could lead to issues such as bubbling or peeling once the PPF is applied, undermining its protective benefits. With a clean and properly prepared surface, you're now set to move on to the exciting next steps in applying the paint protection film that will keep your vehicle looking pristine for years ahead.
Step-by-Step Application Process
Applying paint protection film can seem daunting, but by breaking it down into clear steps, you’ll find it manageable and even gratifying. The journey begins with creating a conducive workspace.
Step I: Setting Up the Workspace
The environment plays a crucial role in the success of your PPF application. Choosing a clean, dust-free area with minimal air movement is essential. Dust particles can sneak in between the film and the vehicle's surface, potentially compromising adhesion and leaving unsightly bubbles.
Ideally, this space should be indoors—like a garage—or in a shaded area to avoid direct sunlight that could alter the film's temperature and handling properties. As you prepare this space, ensure you have all necessary tools within easy reach: a squeegee, utility knife, measuring tape, spray bottle with soapy water, and microfiber cloths.
With your workspace prepared, it's time to move on to positioning the film accurately for application.
Step II: Positioning the Film
This step is where precision becomes paramount. Start by misting soapy water onto both the adhesive side of the film and the area of the vehicle where you'll apply it. The soap solution acts as a lubricant that allows for easier adjustment—think of it as a helper guiding the film into place without sticking too soon. Carefully align the edges of the film with the contours of your car. If you need to reposition, keep everything wet; this will allow you to slide the film without damaging its adhesive properties or creating creases. Once you have everything perfectly aligned, it's time for the pivotal stage: applying the film itself.
Step III: Applying the Film
Your patience will pay off as you use a squeegee to remove any excess water and air trapped beneath the film. Begin from the centre of your application area and move outward towards the edges—this method ensures that air bubbles are pushed away rather than trapped under the film.
Maintaining moisture on both surfaces while using steady pressure helps guarantee a smooth application without causing damage to either surface. Don’t rush; take your time to ensure complete adhesion.
After securing the film in place, it's important to enhance its fit through heat application.
Step IV: Heat Application
Utilizing a heat gun effectively is all about technique. Setting it on low allows you to apply just enough warmth to help the film conform seamlessly to the curves and edges of your vehicle. Hold it at a safe distance—at least six inches from the surface—to prevent overheating, which could warp or bubble up the film unnecessarily.
As you gently warm areas that need more flexibility, use your fingers or squeegee to press and ensure adhesion without risking damage. After applying, a thorough quality check ensures everything is in place
Once you've applied and carefully adjusted every section of your PPF, take a moment for a final review. Inspect for any remaining bubbles or imperfections; addressing these right away will save you from frustration later.
When done properly, you'll not only enhance your vehicle's aesthetic appeal but also significantly bolster its durability against road debris; indeed, proper installation serves as your first line of defense against wear and tear.
As we move forward from ensuring a flawless installation process, it’s equally vital to focus on refining details that enhance longevity and visual appeal.
Final touches and quality check
Attention to detail during these last steps can profoundly impact the overall appearance and durability of the paint protection film. Your goal here is not just cosmetic; ensuring that everything is perfect now will save you potential headaches down the road from film failure or peeling.
Inspect edges and corners
Start by taking a close look at the edges and corners of the installed film. If the film is not adhered properly, these areas are particularly susceptible to lifting.
To ensure solid adhesion, reapply heat gently using a heat gun, focusing on stubborn spots. This softens the film, allowing it to mould snugly against the surface.
Following this, grab your squeegee and apply firm pressure to secure the edges, pushing any excess moisture or air towards the outer ends. Paying diligent attention to these details will prevent unsightly bubbles from forming later on.
Removing Excess Film
Moving on to excess film, you'll want to trim away any surplus material carefully. Utilizing a sharp razor blade or cutter is key here. However, take your time and exercise caution not to scrape against your vehicle's paint.
A good rule of thumb is to leave a small margin around the edges for shrinkage—this allows for natural adjustments as the film settles over time without risking overlaps that could lead to peeling.
Check for bubbles
Once you've inspected for excess material, it's time to examine the entire installation for bubbles. While tiny bubbles often fade away with time as they dry out, larger ones require immediate attention.
Use your squeegee once more to move air from beneath the film toward an edge. If you encounter persistent bubbles that won’t release easily, consider using a fine pin to puncture them gently—don’t worry; this won’t ruin the integrity of the film if done correctly.
Maintaining your paint protection film
You must maintain your PPF to extend its lifespan and keep your vehicle clean. A few easy-to-follow practices can ensure that your investment remains protected throughout its life. Regular cleaning and careful handling are crucial aspects that contribute to the film’s performance and durability.
Cleaning Routine
Begin by establishing a routine cleaning schedule. Using a pH-neutral car wash soap will help preserve the film’s surface while effectively removing dirt and grime. However, we advise caution: avoid using high-pressure washers. While they may seem effective, high pressure can lift the edges of the film and potentially compromise its adhesion.
Instead, consider using a soft sponge or microfiber cloth during washing; this gentler approach protects the film while ensuring a thorough clean. After you have established your cleaning routine, it’s important to pay attention to the substances you use during maintenance.
Avoid Chemical Cleaners
One significant factor in maintaining your PPF is steering clear of abrasive or acid-based cleaners. Such products can degrade the film's surface over time, making it susceptible to wear. Avoid cleaning agents that contain ammonia or bleach at all costs. These harsh chemicals can not only leave behind residues but also dull the shine of the protective layer.
If necessary, use specialized car care products made for PPFs, as they are gentle yet effective. Along with proper washing and cleaning products, regular inspections play a pivotal role in the upkeep of your film.
Inspect and maintain.
Make it a habit to regularly inspect the film for any signs of wear or lifting. This proactive step will allow you to identify minor issues before they escalate into larger problems. For instance, if you notice any edges beginning to lift, you could try smoothing them down or consulting a professional for repair options. Early intervention is key; by addressing these concerns promptly, you maintain both aesthetic appeal and protection against abrasions or environmental damage.
Incorporating these maintenance tips will ensure that your Paint Protection Film remains in peak condition for years to come. Committed care guarantees optimal protection for your investment while enhancing your vehicle's visual appeal.
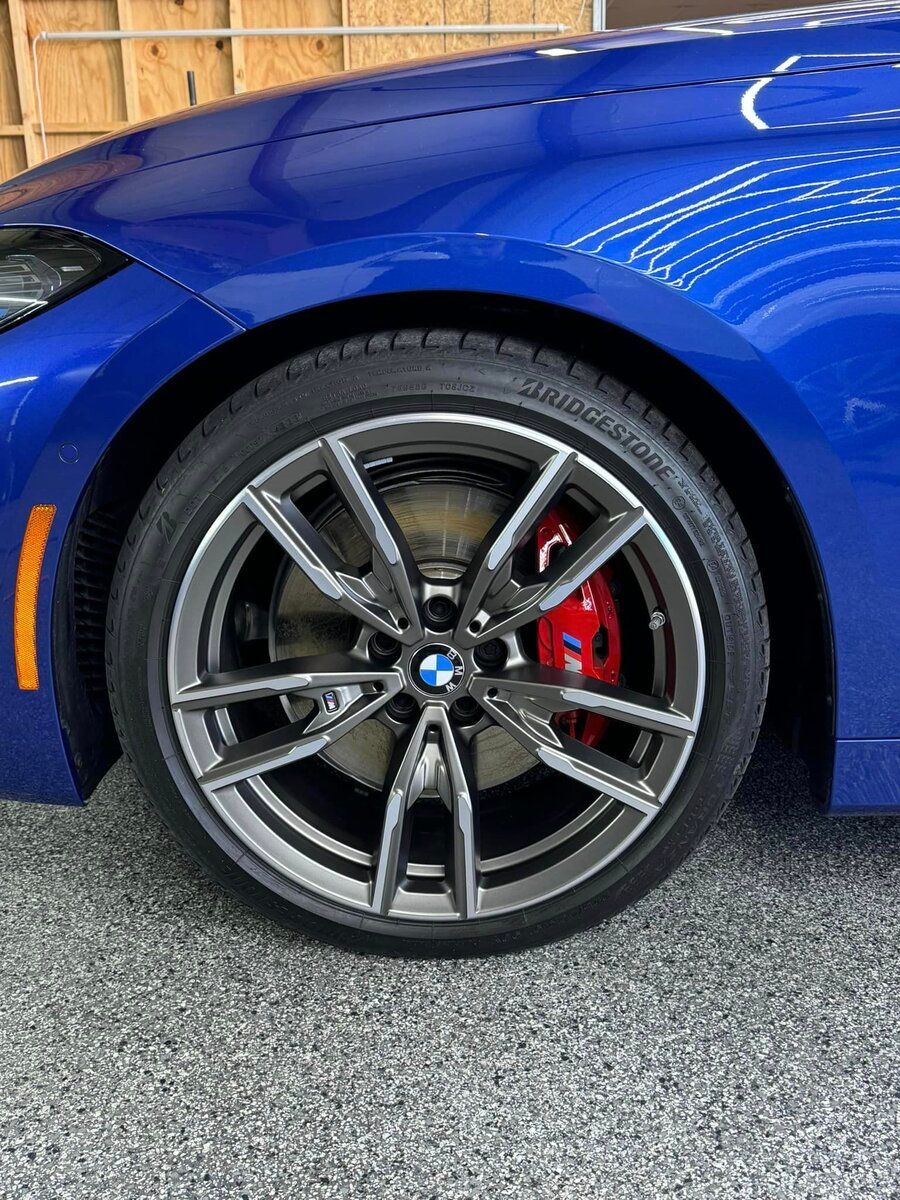
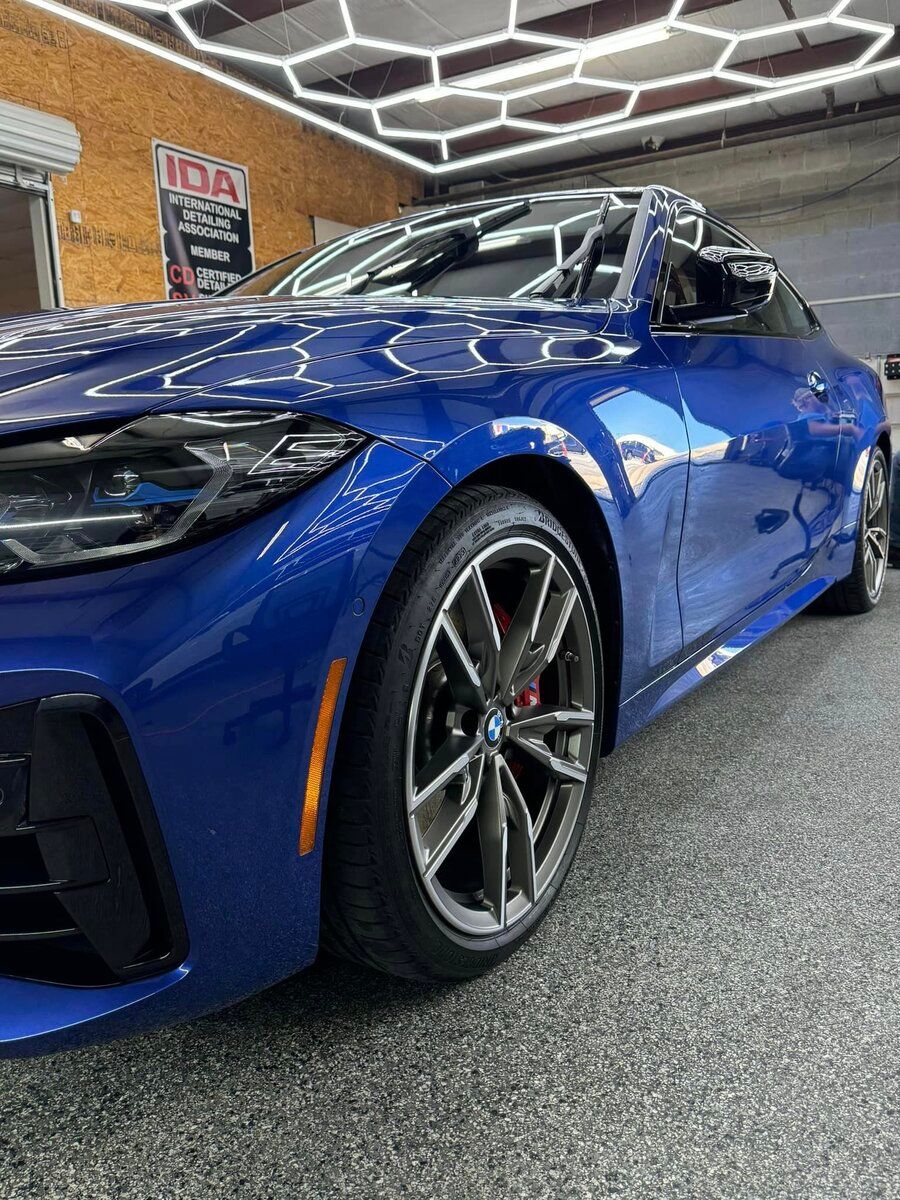
Experience Ultimate Protection with Upscale Detail Co.'s Paint Protection Film.
When it comes to safeguarding your vehicle, nothing offers more peace of mind than a high-quality
paint protection film (PPF) installed by professionals. At Upscale Detail Co., we understand how important your vehicle is to you—it's not just a mode of transportation; it's an investment that deserves the best care. We design our paint protection film services to maintain your car's pristine appearance and boost its resale value. Our team at Upscale Detail Co. consists of highly trained professionals who specialize in PPF installation. We use cutting-edge techniques and premium materials to ensure a flawless application that seamlessly integrates with your vehicle's design. Investing in paint protection film not only preserves your vehicle’s appearance but also enhances its resale value. Maintenance and weather protection make a car more appealing to buyers. Book now!
The body content of your post goes here. To edit this text, click on it and delete this default text and start typing your own or paste your own from a different source.